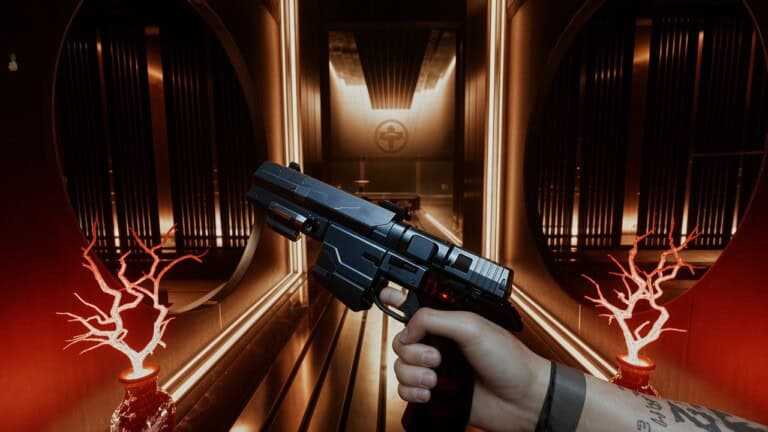
Clampdown is a new side quest in Cyberpunk 2077 Update 2.5, which is set before the events of Cyberpunk: Edgerunners 2 and rewards King’s full outfit plus the iconic Coronation Tech Revolver. This guide will provide you with a complete walkthrough of the Clampdown quest in the game.
How to Unlock Clampdown & Escape Your Cell

As soon as you complete the main story mission “The Heist” and the “Love Like Fire” with “Playing for Time” missions, you’ll have full open-world access to Night City. Here’s how to unlock the Clampdown quest:
- Complete at least two gigs for Wakako Okada in Westbrook, Japantown.
- The two best options would be “We Have Your Wife” and “Tyger and Vulture.”
- Wait for a text from Wakako about an A-list merc named King.
- Once you receive the message, this will start the “Clampdown” quest.
Now you need to actually meet King, who clearly needs some help. Here’s how to proceed further:
- Go to the rendezvous near BuryGer, by the MLK & Brandon fast travel point in Santo Domingo.
- Sit at the nearby table and wait.
- King will not appear in person, but he calls you instead and explains the job.
- You need to help break his crewmate Miguel out of the Night City Prison, which is right across the street.
- Accept the job and walk to the prison’s visitor entrance.
- Don’t fight anybody, jump the fence, or draw attention, as in either of these cases the quest fails.
- Use the intercom, enter, follow the guard through security, and place your hand on the scanner.
- Once you end up in a cell with another inmate, Meshuga will contact you.
- Scan the area, hack the camera, switch to Camera 117 (Security Cortex), and remotely deactivate the panel to open your cell.
How to Find King’s Gear & Escape the Prison

After leaving your cell, you need to go through the gate into the BD cells hallway and enter the bathroom at the end. There, scan the duffel bag under the bench to receive the King’s Gear, including:
- Coronation (Iconic Tech Revolver)
- King’s Coat
- King’s Bulletproof Vest
- King’s Glasses
- King’s Pants
- Icon America Dust Devil Utility Boots
Now you can actually escape the prison, but first you need to reach the Crisis Control Room. Here’s how:
- Leave the bathroom and continue past your old cell to the security room.
- Jack into the main terminal and read the Files section for info on deactivating the Reaper chips.
- Scan the room and jack into the correct Reaper server.
- Deactivate your own Reaper first, then deactivate Miguel’s.
- Leave the Security Cortex and take the elevator down.
- Fight through the prison yard and speak with King via comms.
- Enter the Armory and retrieve your gear.
After speaking to Meshuga again, hack the doors to the Crisis Control Room and take the elevator down. Once you jack into the central Reaper server, you’ll receive two choices:
| Choices | Effects |
|---|---|
| Listen to Meshuga | Activate the Reaper Chips: Kills the prisoners, clearing a path. |
| Listen to King | Deactivate the Reaper Chips: Causes a prisoner riot for cover. |
Ultimately, for completing the quest, it doesn’t matter what you pick. In either case, you need to exit via the left doorway, climb through the hatch into a mechanic’s room, open the shutter to the yard, and fight Darius Bale, who is weak to Shock damage and Short Circuit quickhacks. Loot him for an Access Badge after the fight and complete the quest:
- Proceed through the hallway into the Morgue sector and plant the mine on the back wall.
- Detonate to create an exit and escape the prison.
- Don’t fight anybody, just run, call your vehicle, and lose the NCPD pursuit .
- Once clear, both Meshuga and King will call to thank you.
- You will keep King’s full outfit and the Coronation revolver.