The Hall of Mirrors is the most complicated maze in Castlevania: Belmont’s Curse, which is deliberately disorienting and leads to the Succubus boss in Belmont Manor for The Temptress Arcana. This guide will provide you with a complete walkthrough of the Hall of Mirrors in the game.
How to Reach the Entrance of the Maze

Before you can enter the maze, you need to clear all four Mirror of Life combat challenges and defeat all enemies in the arena, including:
- Paris Streets (Prison Tower)
- Main Hall (Servants’ Hall)
- Clock Tower (Mechanic’s Ascent)
- Notre-Dame (East Gallery)
You can start from the Main Hall – Waterworks and go through the red door to Boudoirs and Torture Chambers. Then, follow these steps:
- Activate the Mirror of Life and enter the Mirror Rooms.
- You’ll find Queen Eleanor in the chained mirror in the Heart of the Maze.
- Once you clear all the seals, crouch at the mirror portal under hooded statues to enter the Hall of Mirrors.
Note that there are only two ways how you can reveal the rooms inside the Hall of Mirrors: Mirror Shrines and Kneel Spots. If a reflection glows, you should kneel to reveal the correct mirror.
How to Reach the Succubus Boss

Since the revealed rooms often loop and recur under different versions, it’s recommended that you follow these steps as exactly as possible to reach the boss arena:
- Once you enter via the Main Hall mirror portal, you will land on the upper pedestal.
- Drop into the Tower of Worldly Reflection and descend the long vertical shaft.
- Cross the Threshold of Vision to your right, dodge shield knights and projectile enemies, and drop into the Servants’ Refectory.
- Defeat the heavy club brutes for Sypha’s apparition to appear.
- Crouch at the nearby mirror to teleport.
This teleport will send you straight to the area where you need to wall-jump up and head into the Hall of Hallucination. Then, do this:
- Continue to the Glass Gallery past the rotating buzzsaws and spiked walls.
- Here, some of the doors will start repositioning you within the room, so drop down and dash left to reappear in the upper-right corner, then take the bottom-right exit.
- Climb up, hit the switch to open the top-left passage, return up, and exit to your left into the Dead-end Tower.
- Try to avoid the spinning circular sword trap and exit left to the Familiar Way.
There, you can also hit the switch for a useful shortcut, but keep following this track in the Familiar Way:
- Ignore the lower route and climb the stairway into the Chamber of Secrecy.
- Avoid any saw blades and thorny black vines, then take the top-left exit, activate the switch, and grapple up to the Passage of Perplexity.
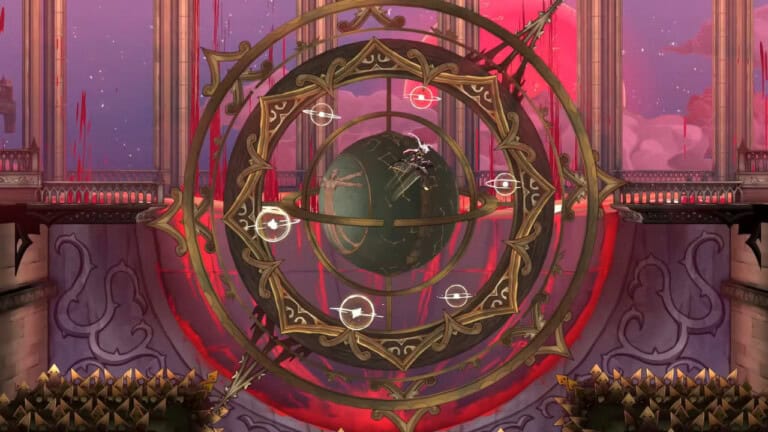
- In the Passage of Perplexity, dodge the rotating sword wheel.
- Talk to the second Sypha apparition and grapple to the overhead platform.
Lastly, crouch at the mirror to teleport and descend into the final sections of the maze:
- Use the right exits to climb the unstable wall, slam through platforms, and reach the Recurring Belfry.
- Drop down, take the right doors, and crouch at the mirror for the final teleport into The Descent into Memory.
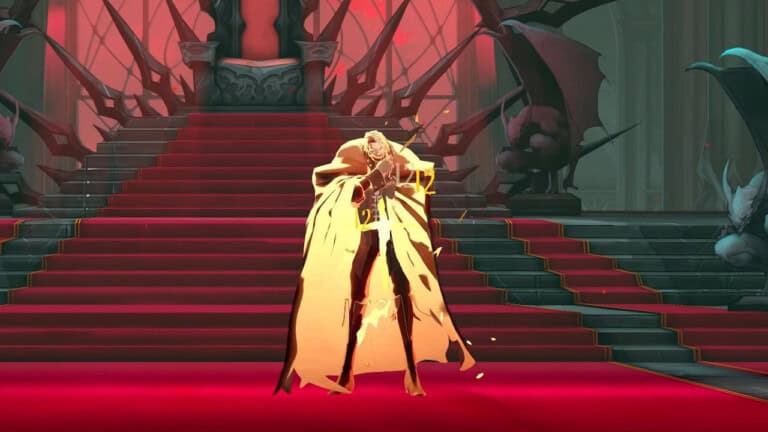
- Save at the Mirror of Life on the right and descend the grand red staircase.
- Near the bottom is a final mirror shrine for a map update.
- Continue to the glowing red doorway that will lead you into the Belmont Manor and the Succubus fight.
Note that you can smash the large central mirror in the Recurring Belfry to fully open the path, but the map fills in properly once you reach The Descent into Memory. Bleed and Burn damage work great against Succubus, who will reward you with 1,200 XP and The Temptress Arcana (Life Drain).